After one month traveling I’m back and trying to get back to my routine. First of all, I’d like to thank all comments and emails about the blog and the tutorials.
Now talking about Photoshop, I started using the new CS3 programs on my mac and I have to say, they are really faster, and I can finally use the Illustrator more often.
On this article I created a design inspired by the work of Nik Ainley. He’s one of my favorite Photoshop Masters and his work is really impressive. For this design I used the Displace filter in Photoshop, I think it’s one of the most obscure filters because most the majority of users don’t know how to use it, and that includes me, lol. The vectors were created in Illustrator with, again the blend tool.
1 - Create a new document and in the layer style create a gradient.

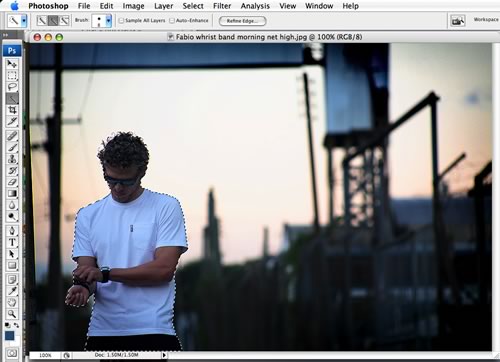
2 - Select a person to use: I used a nice photo taken by John Arlington for the Udox website. The new select features in Photoshop are amazingly cool, it’s pretty easy to cut a person off the picture with the Quick Selection Tool and the Refine Edge options.

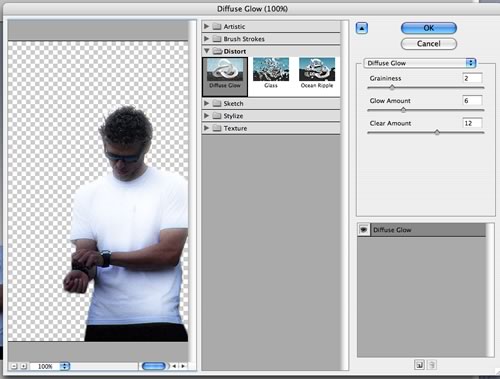
3 - Add a Diffuse Glow: Go to Filters>Distort>Diffuse Glow
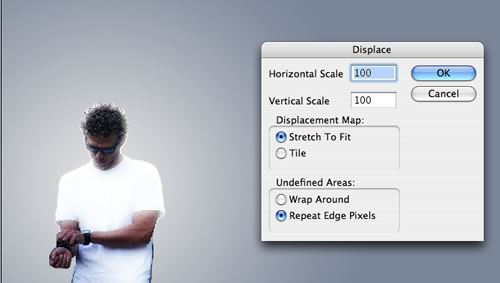
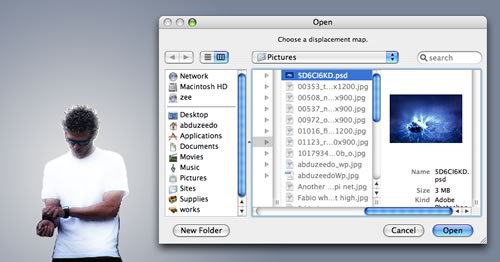
4 - Exploding the guy: Use the displace filter to explode the guy. I used a crazy image as a displacement map, though you can use any image.

5 - Refining everything: Apply a mask in the layer of the displace and in the guy’s. Start erasing the displace layer, after that use the Smudge tool to blend them together.

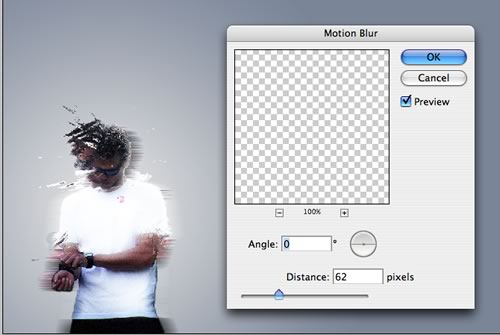
6 - Giving a blur: Duplicate the guy’s layer, apply the filter Pixelate>Mezzoting and choose the type as Medium Lines. After that apply a motion blur.
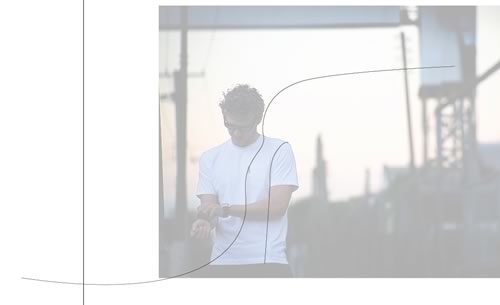
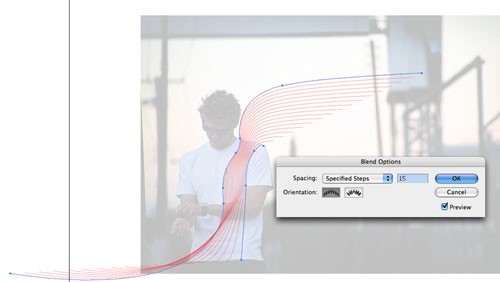
7- Creating the vector lines: That is pretty simple in Illustrator, just create some lines with the pen tool and use the blend tool. Repeat it as many times you think it’s ok.
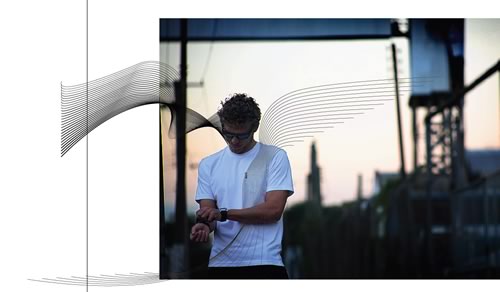
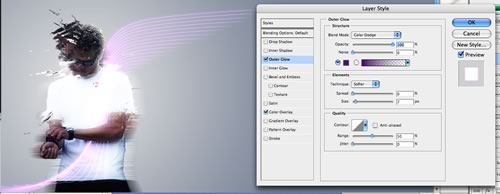
8 - Using the vectors: In Photoshop again, paste the vectors there as Smart Objects, and apply a Layer Style. In that case I added a glow and a color overlay. Try different colors and glows to the different vectors.

9 - The final result: I played with the graphics a bit more like adding new elements and filters such as the noise filter in the background.
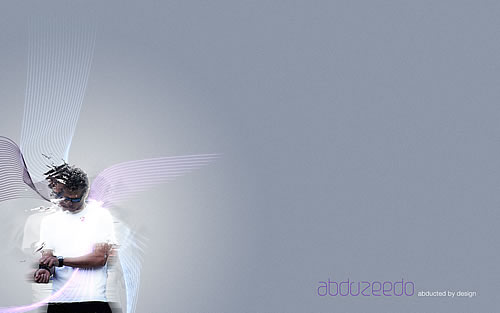
I have to say that I’ve learned a lot creating this image. It took me some time to create everything, the displace filter and the vector lines that we see a lot out there. I want to say thanks to a visitor of my blog who sent me an email asking how to do an image similar to this one. That was my motivation to create this article.
Download the Photoshop File
You can download all the files used here.